Project Ssongg Day5 - Stringart Practice / Heart Pattern
[Stringart Practice]
So Let’s start make a heart pattern with stringart.
Please print ‘Attach.1 how to make heart by sequence’. It includes 20cm x 20cm heart digital pattern for print on a paper so please prepare followings.
[Preparation]
- 20cm x 20cm wood panel
- 60+ nails
- 1 thread
- Scissors
- Latex Glue
![]()
[Step 1]
Print this PDF book on A4 size paper.
Cut along the square on this page.
Put the pattern on a string art board.

[Step 2]
Secure the pattern with sticky tape as marked by dashed line.
Nail into 60 points on the paper pattern.
Tear the paper pattern except for the numbers from 1 to 60 on wood panel.

[Step 3]

The above sequence lists the points represented by A’ and A’’ in order.
In last lesson about GeoGebra simulation, it was said that the heart pattern was created by the trajectory of A'-A''(= segment f) when A', A'' and f are defined as following.
- A’=Rotate(A, 6 ºa)
- A”=Rotate(A, 12 ºa)
- f = segment (A', A'')

In other words, in the above sequence, the point where the number of nails increases with the rule of +1 means A' (rotates A by 60º) the point where the number of nails increases with the rule of +2 means A''(rotate A by 120º)
1-2-3-3-5-4-7-5-9-6-11-7-13-8-
Now, let's arrange this sequence using a table to make it easier to understand.
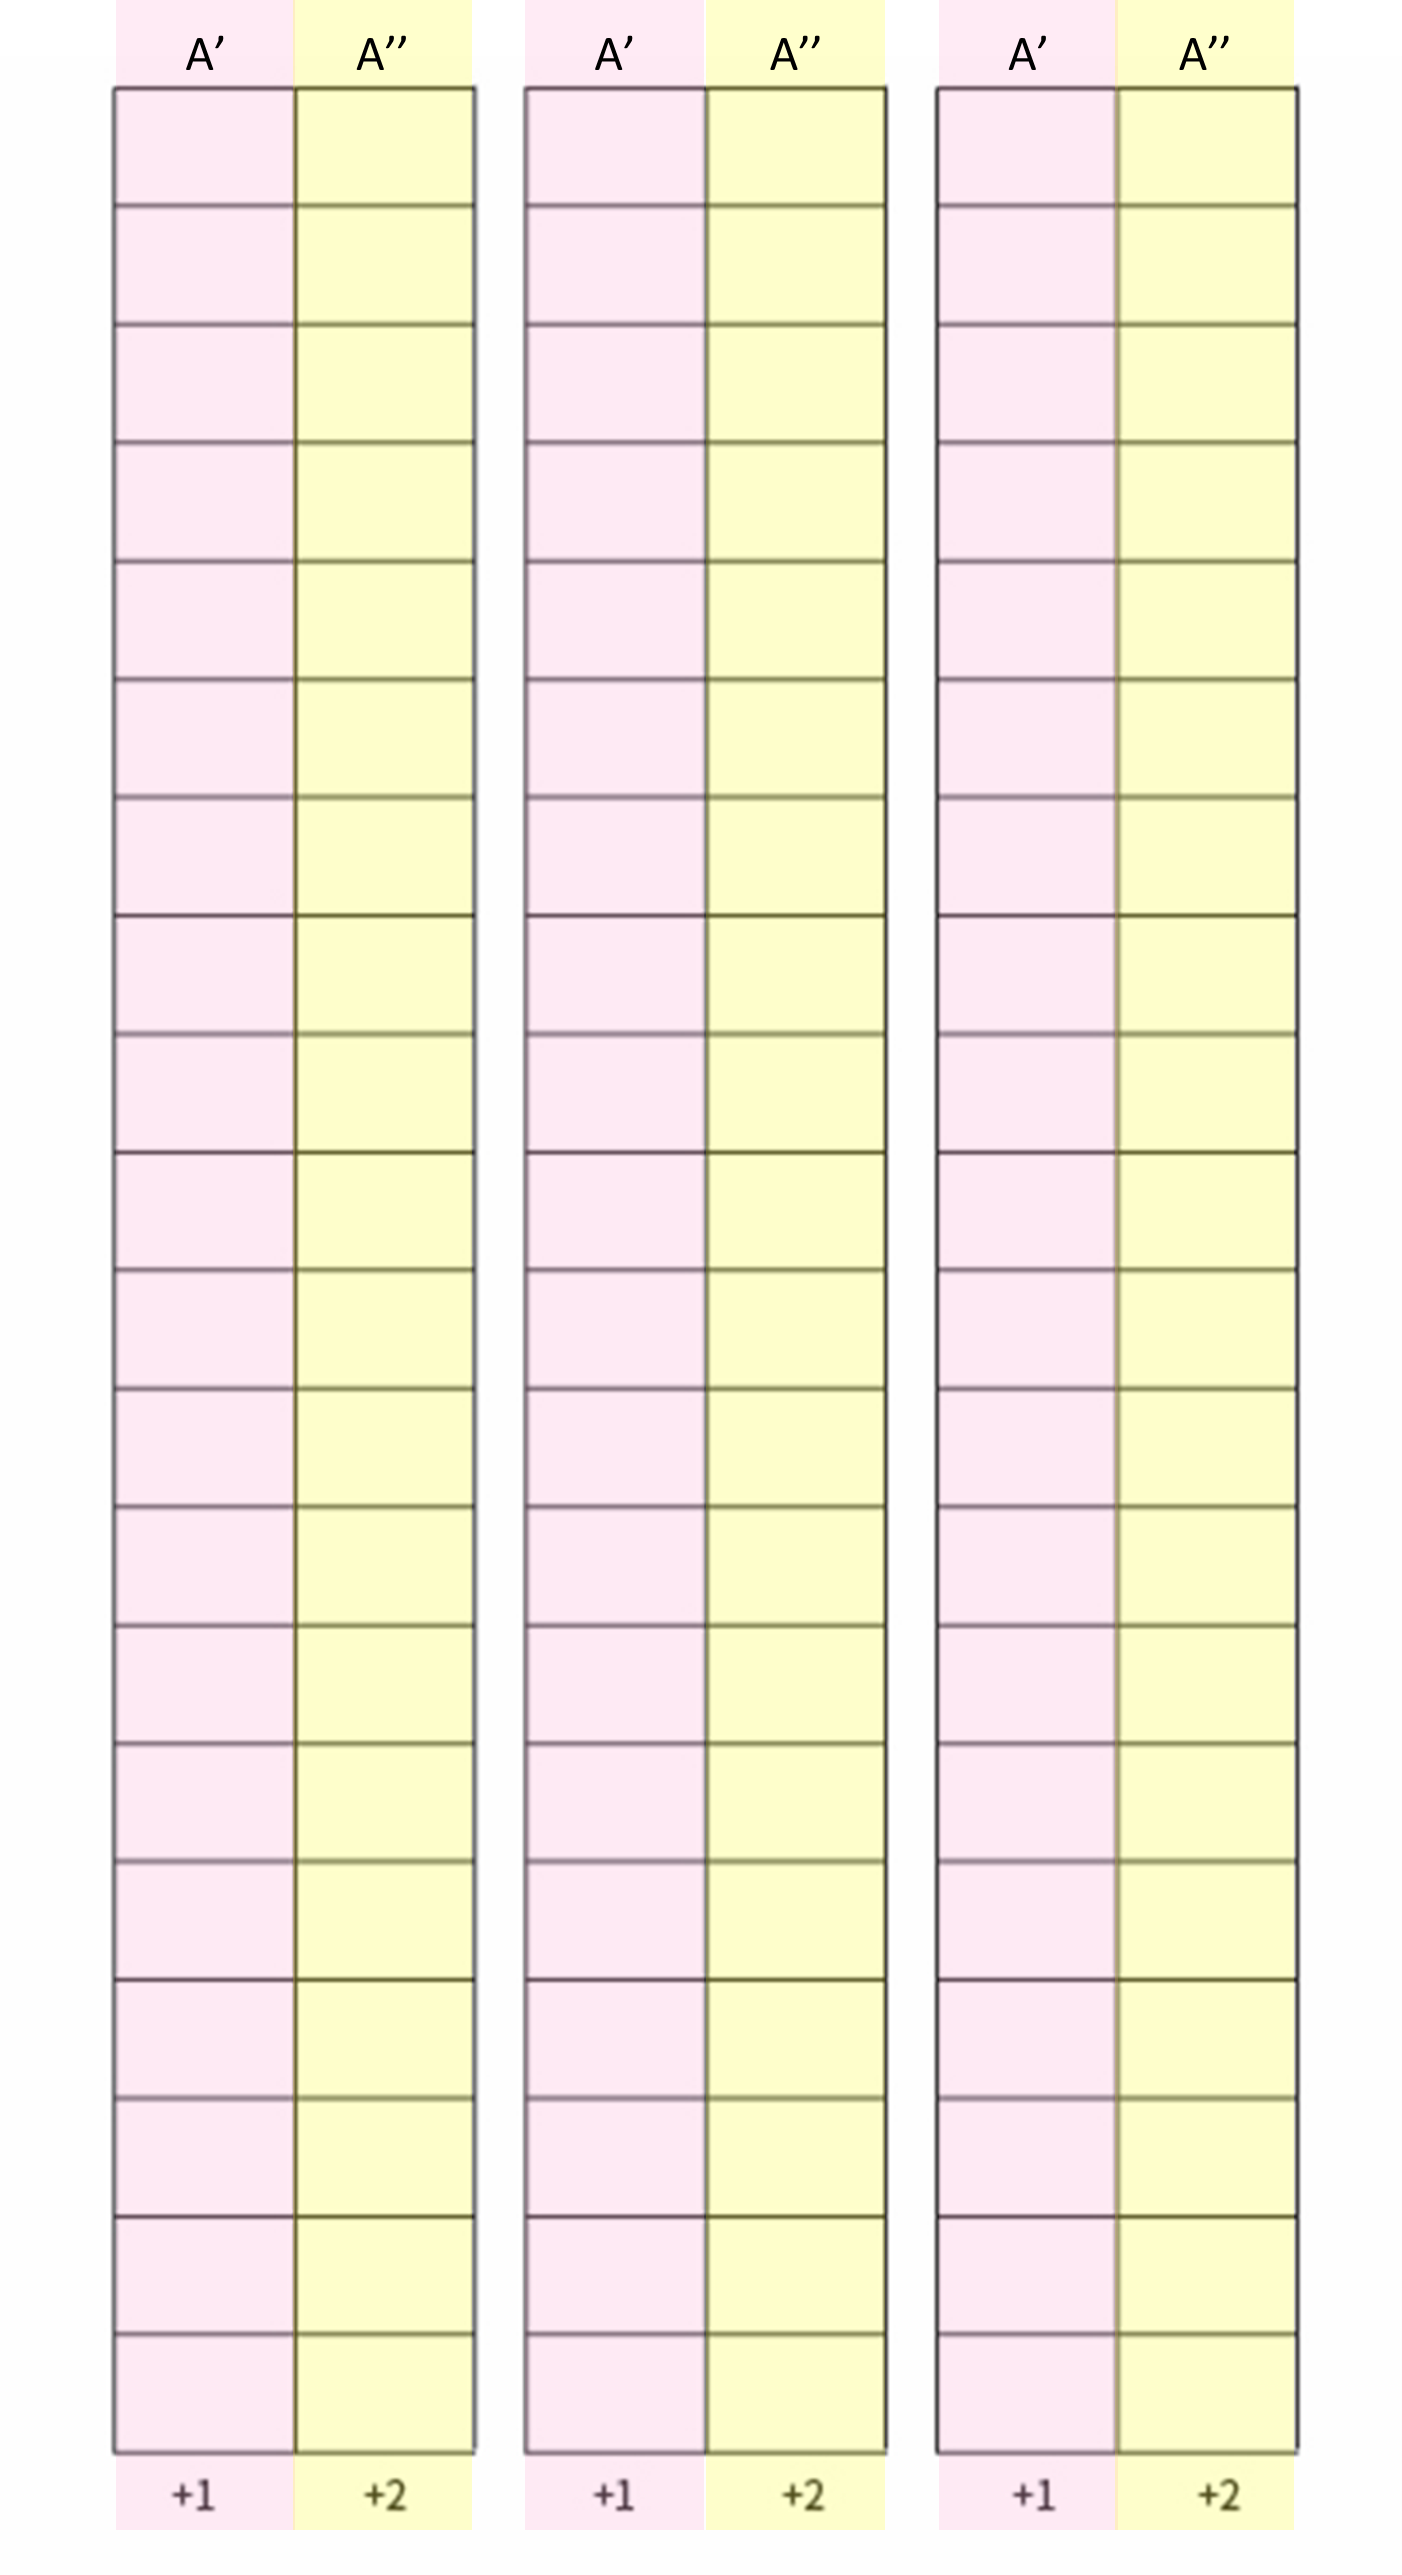
[Step 4]
Using the rules above, fill out the table below.
The column represented by A' is a point rotated by 60º, so +1,
The column represented by A'' is a point rotated by 120º, so fill the table by applying the rule of +2.
![]()
[Step 5]
Compare the table created in Step 4 with the table below.
Since the variable (slider) a is set to 60 in GeoGebra, both points A’ and A” are expressed as a sequence with numbers of 60 each.

![]()
[Step 6]
Now let's actually weave the thread on nail.
In the actual string art, one more trajectory that does not appear in the GeoGebra simulation appears.
It is the line that returns from A" to the next A' (we will call this the 'return line' for easy understanding).
If the line (return line) returning from this A'' to the next A' intersects the line moving from A' to A'', the two trajectories will draw the same pattern as shown in Figure 1.

However, if the line (return line) returning from this A'' to the next A' (return line) does not intersect the line moving from A' to A'' and draws a separate line, then the two trajectories are two different trajectories as shown in Figure 2 will create a pattern.

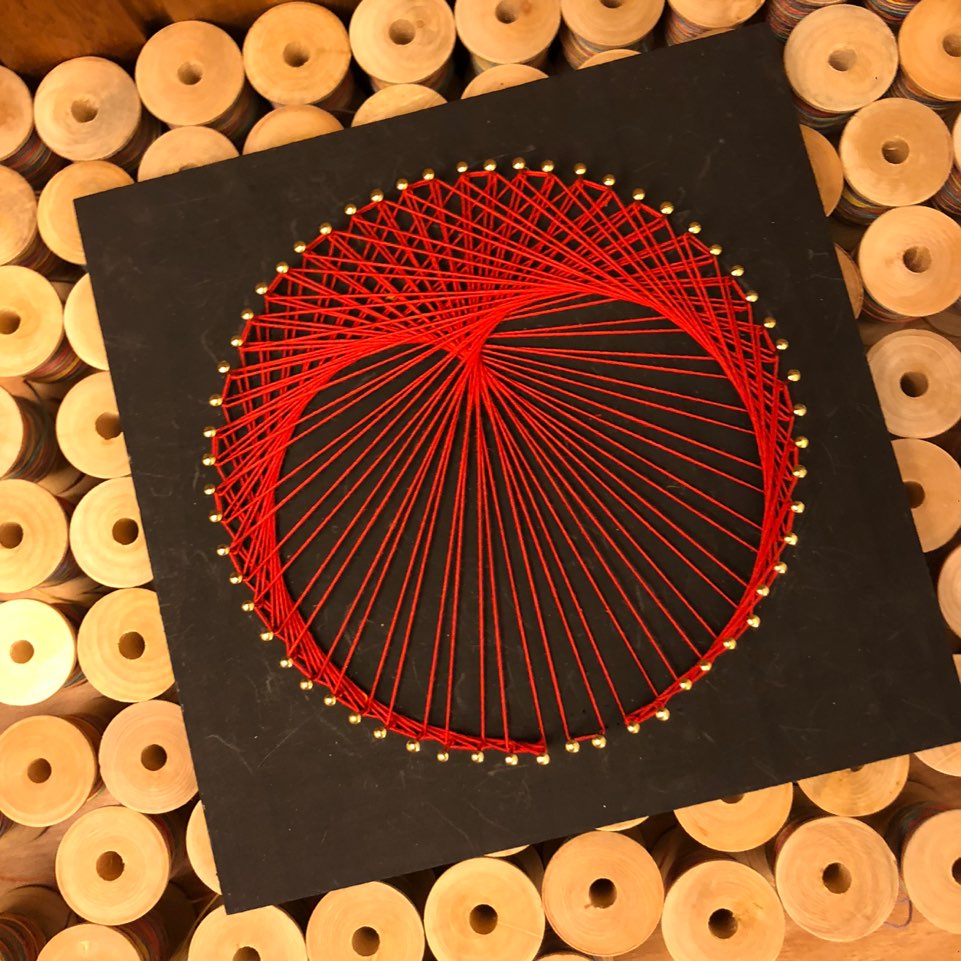
When you first start geometric string art, if you do not pay attention to this part, you cannot create the desired pattern neatly. When designing an actual string art work, in most cases, a pattern is clearly expressed with one trajectory, but two trajectories are artificially created as needed and sometimes expressed subtly.
In the string art work below, the thread woven in the lower part of the ring (nail) is clearly expressed with one trace, and the thread woven in the upper part is expressed subtly by making two traces.
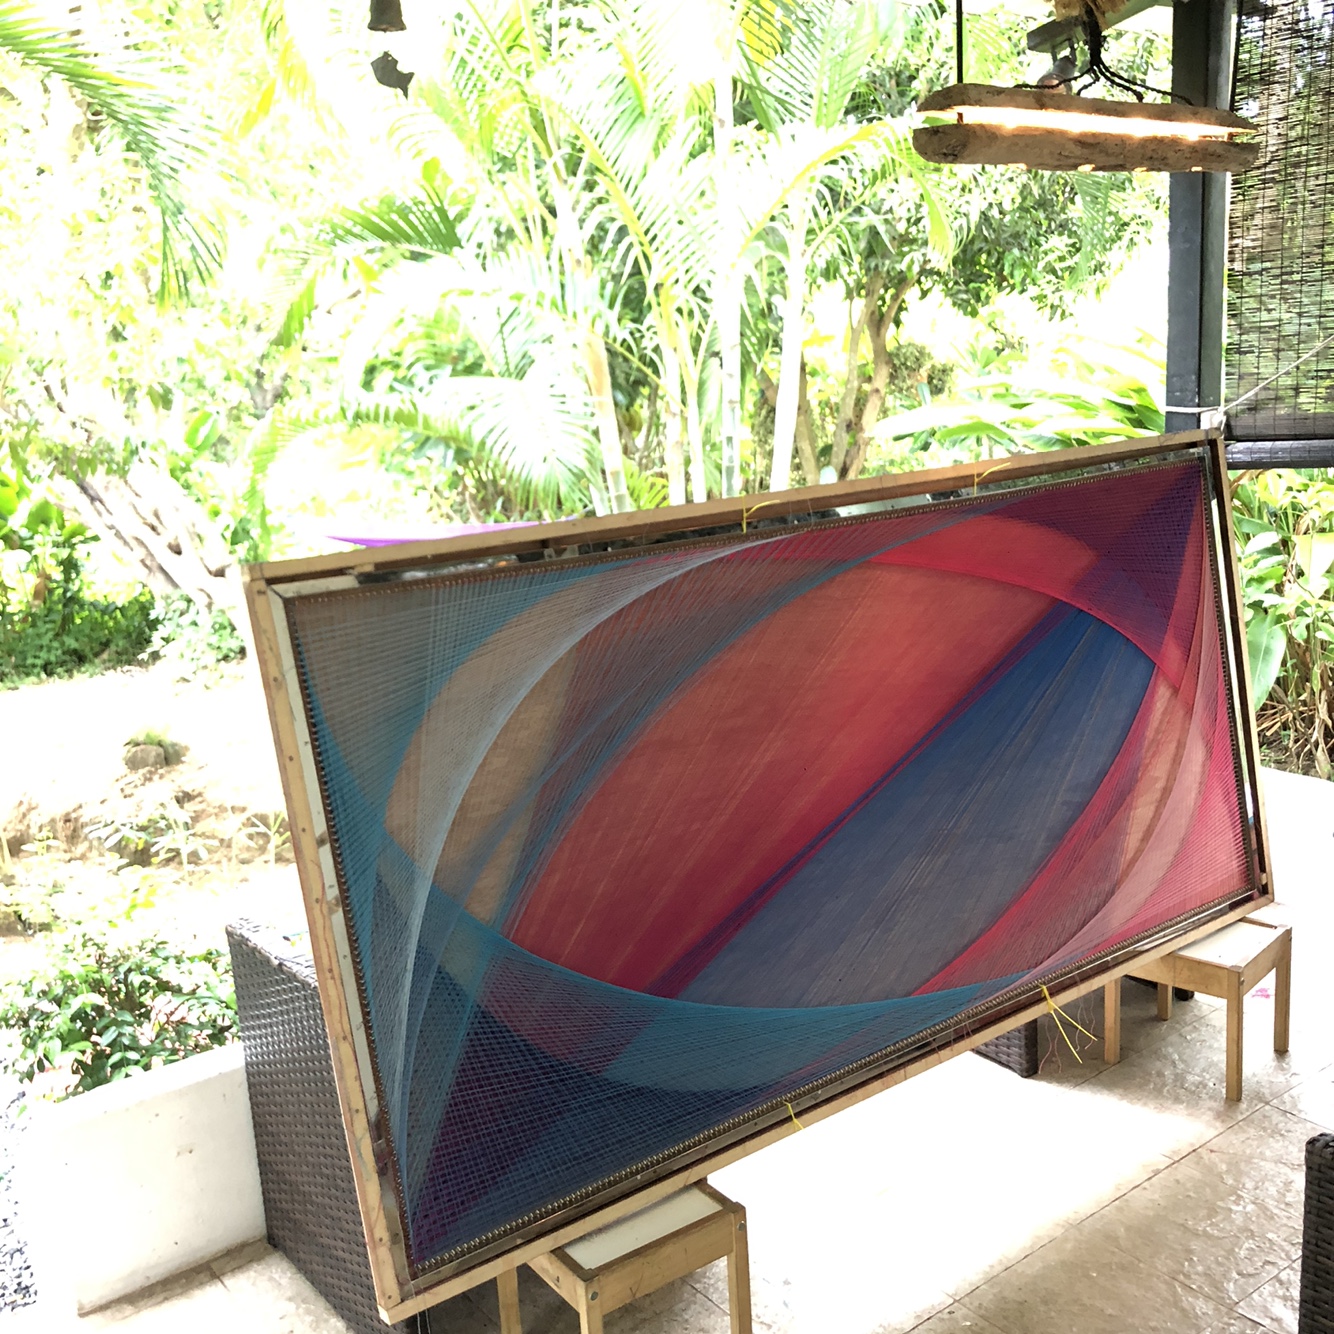
![]()
In this way, in actual geometric string art, it is necessary to understand the return line (return line), but the pattern designed through simulation can be transferred to the actual string art and resembled it.
For this reason, the most basic heart pattern was explained from various points of view. Now that you understand the actual string art, geoGebra simulation, and return line, let's practice various patterns from the next time.
▷ The design file used for the heart pattern can be downloaded in below link.
https://drive.google.com/drive/folders/1EZC1y_VoiuGeaDnQq3puR8sZSoVmKzWw?usp=sharing


Comments
Post a Comment